How to Make Flan de Guayaba (Best Guava Flan)
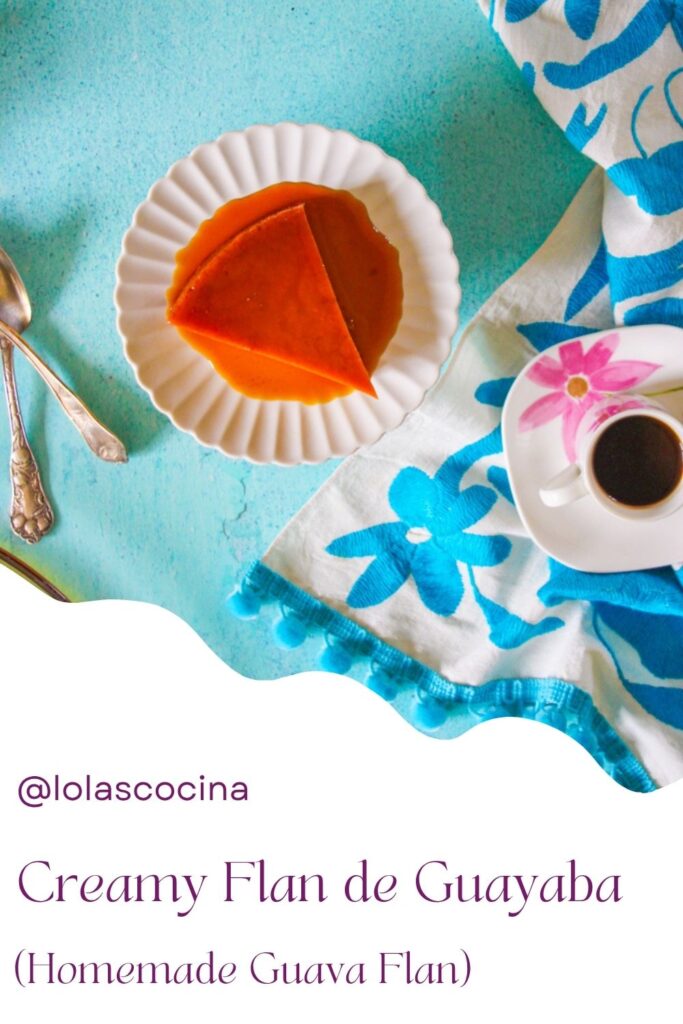
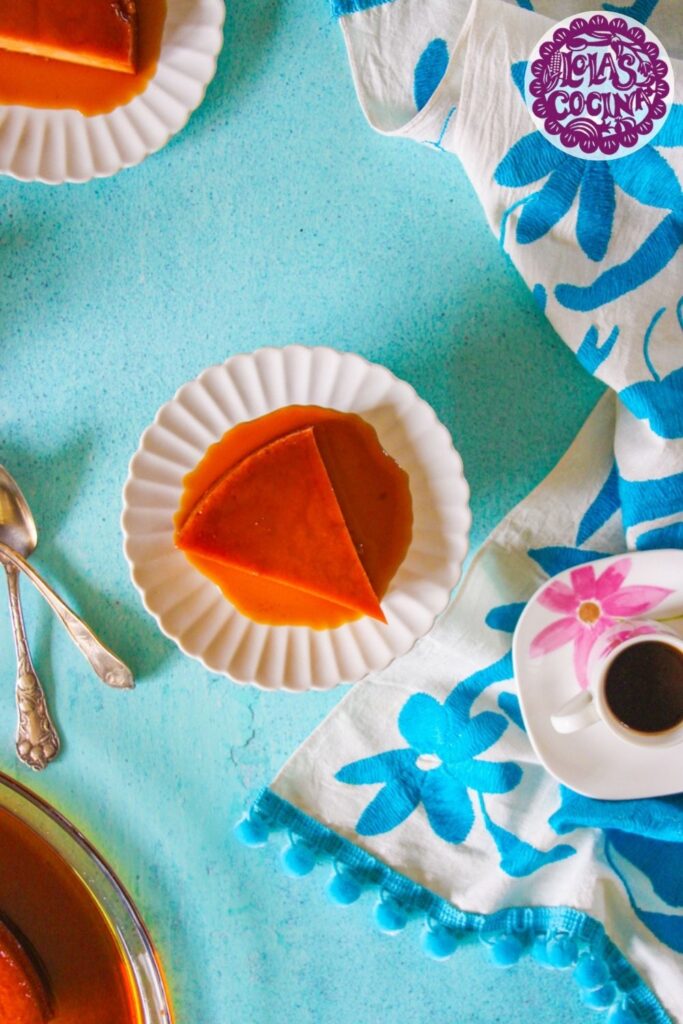
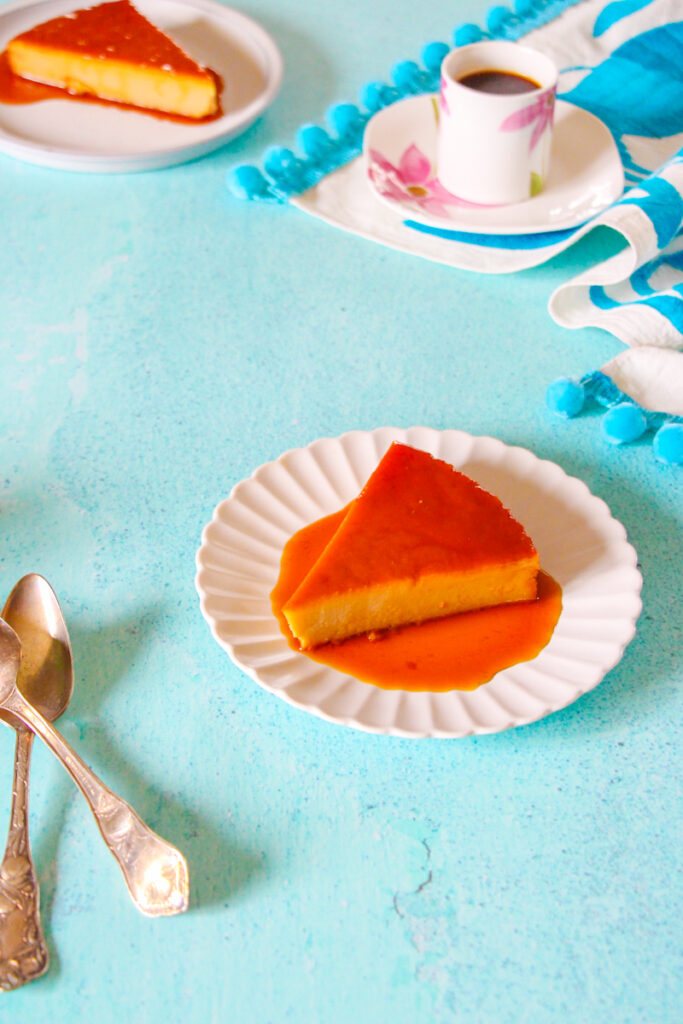
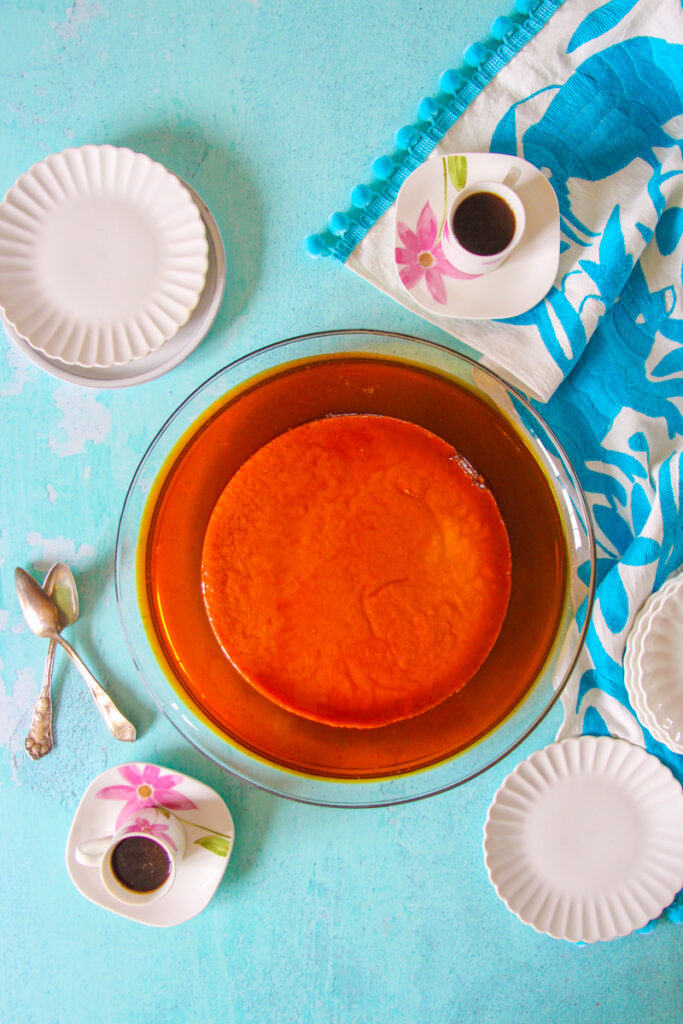
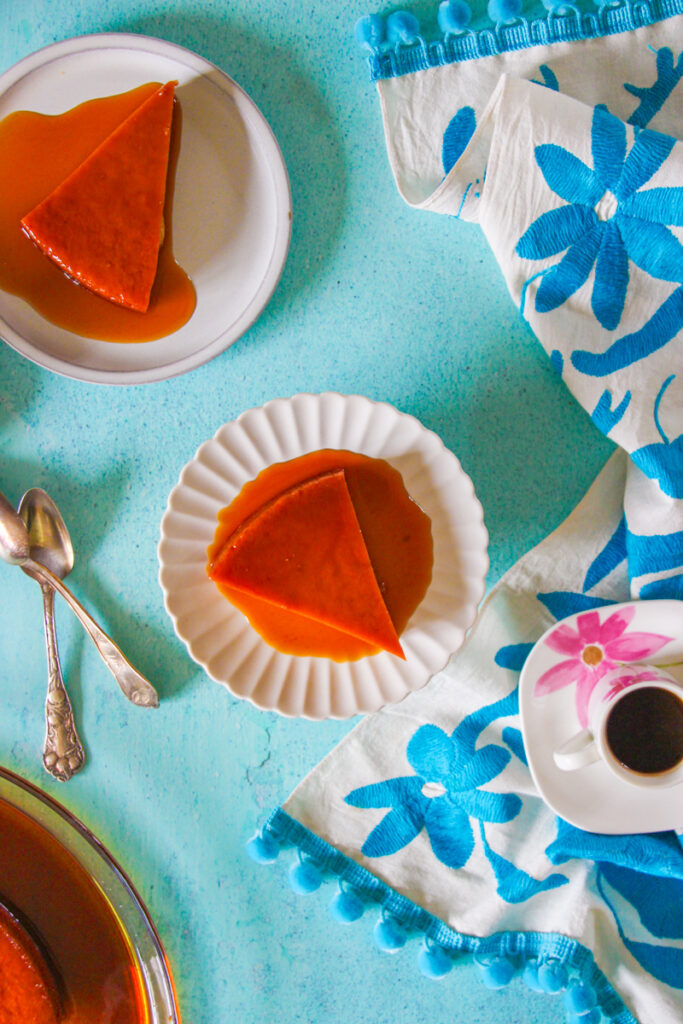
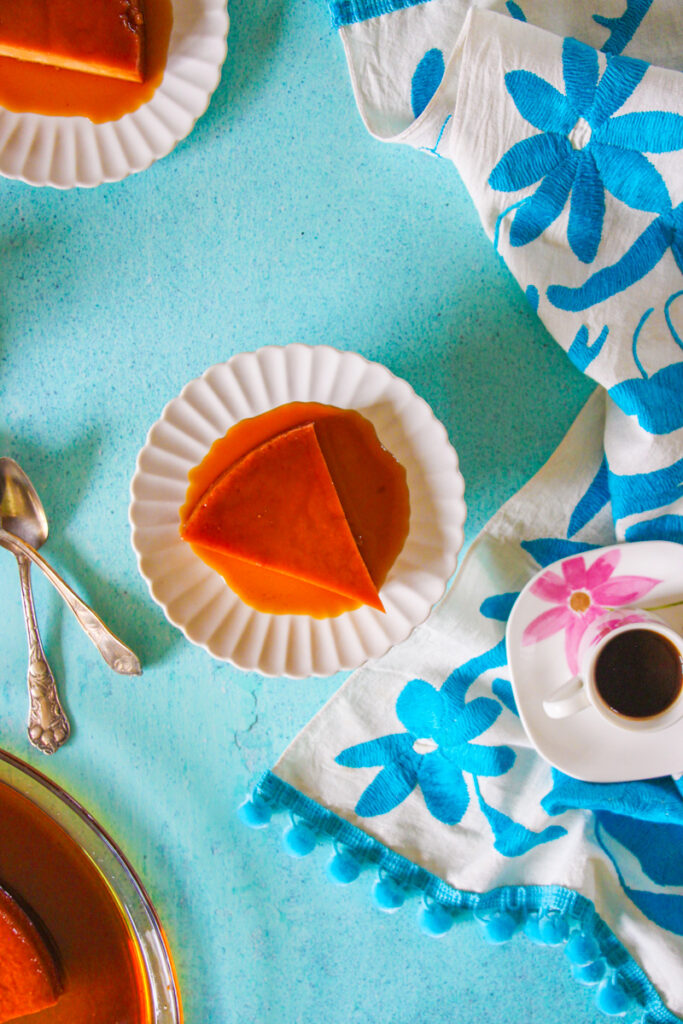
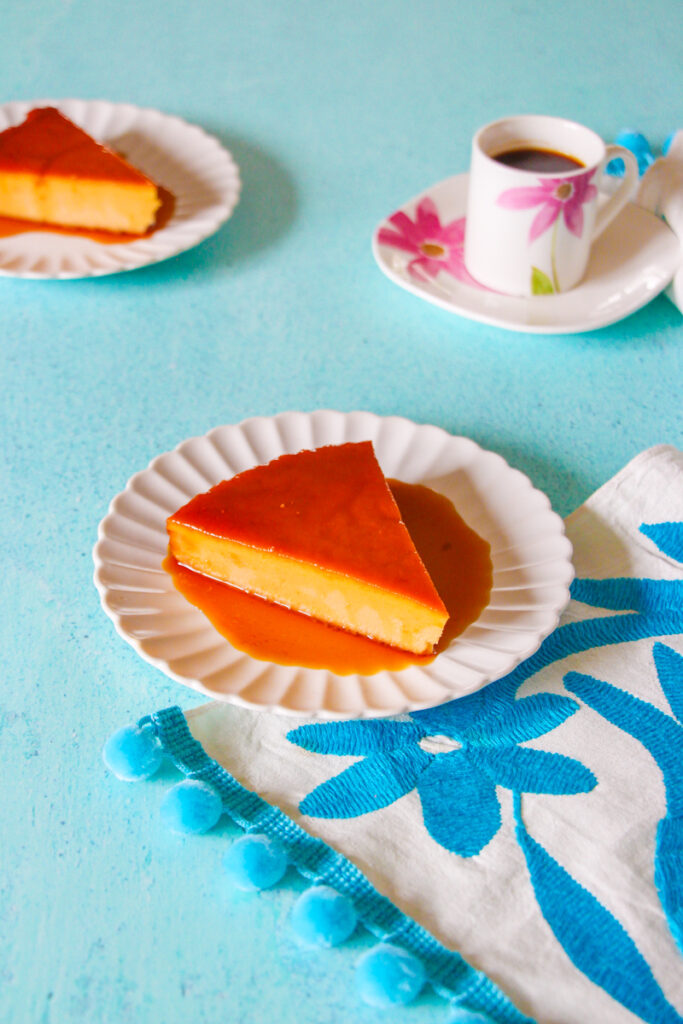
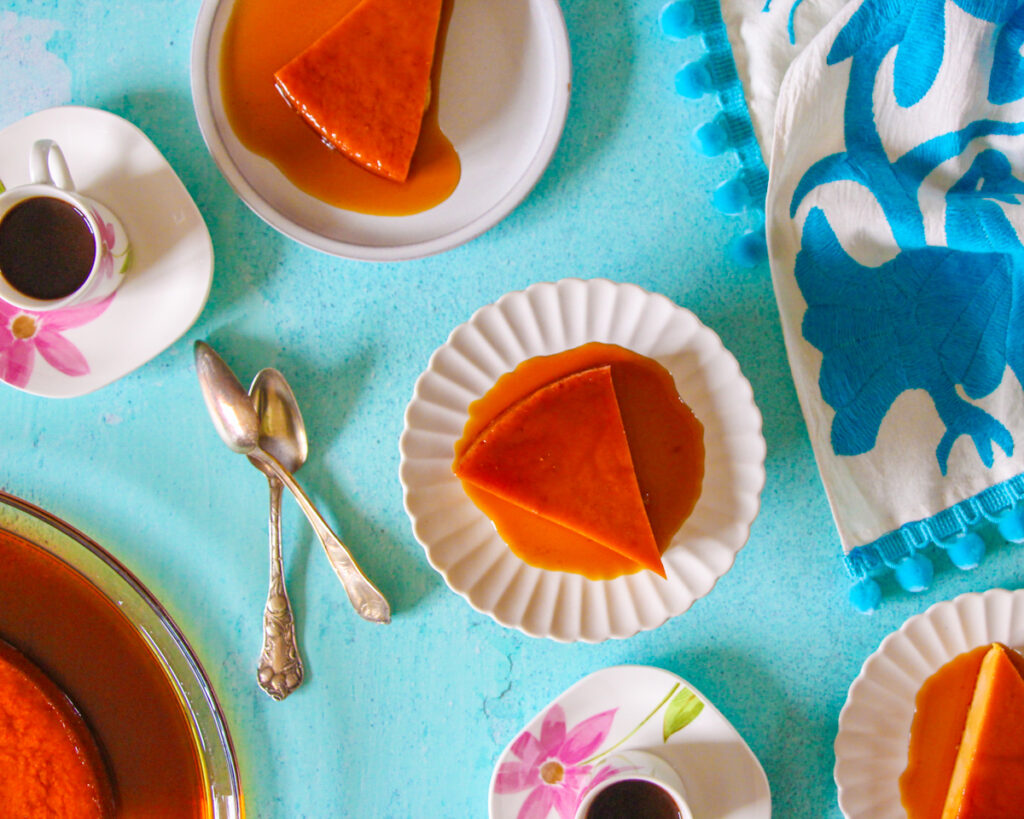
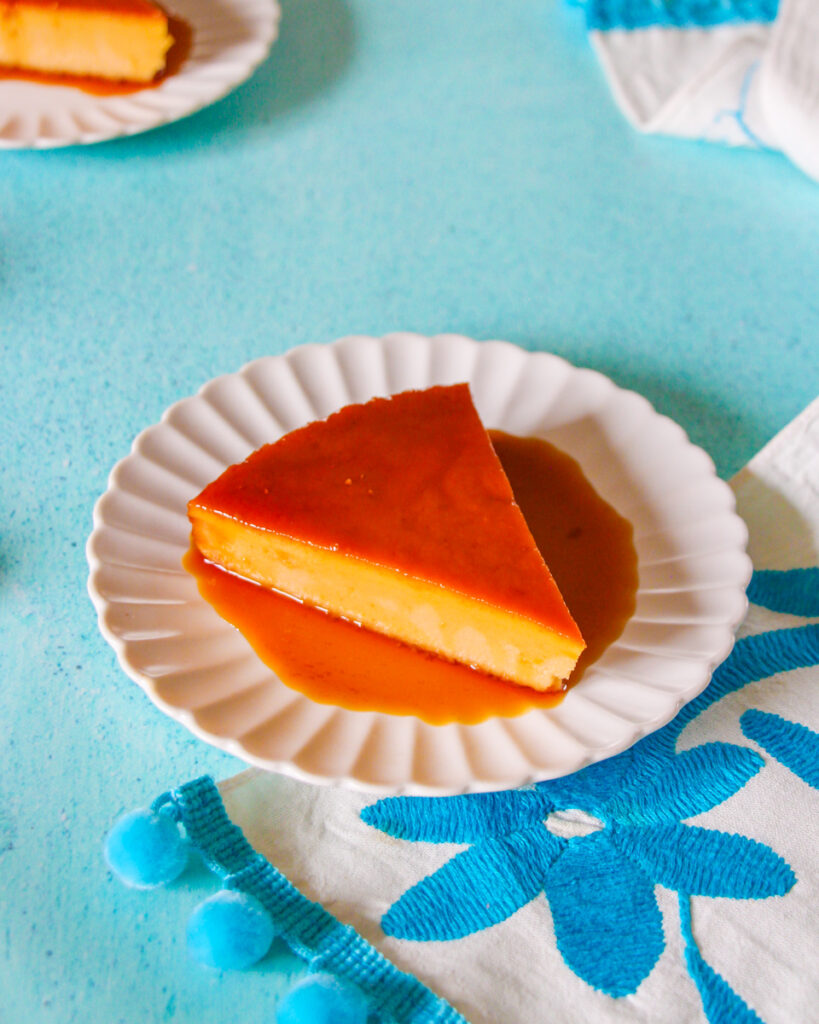
This flan de guayaba combines two of my favorite recipes: classic flan and guava jam! Guava jam is one of the most popular recipes on my website from summer through the end of the year, which usually marks the end of guava season. Don’t worry though, you don’t necessarily have to make your own jam for this recipe – I found a great one at Trader Joe’s that you can use (it’s organic, too).
RECOMMENDED BY LOLA FOR THIS RECIPE
9″ Round Cake Pan
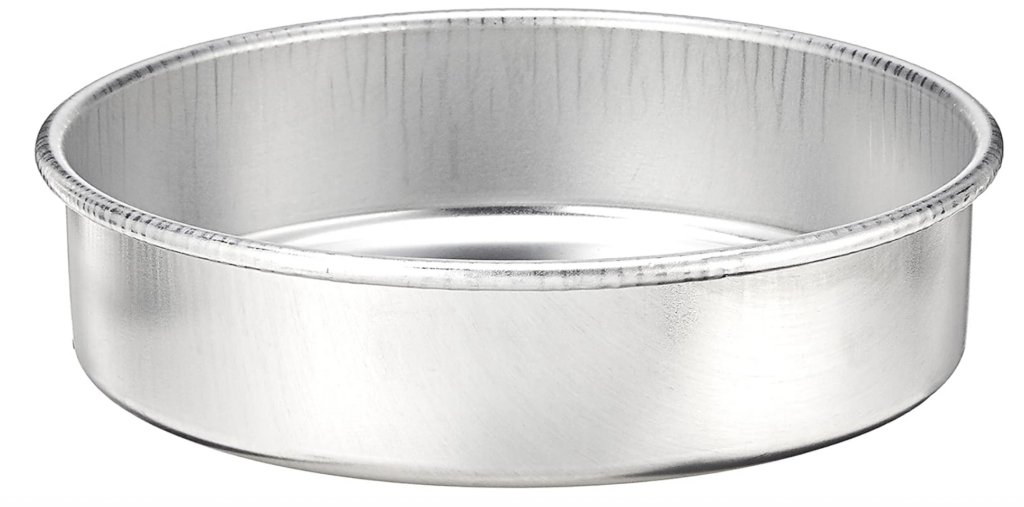
I really like the heavy-duty Nordic Ware commercial baking pans for making flan. If you want a thinner flan, a 10-inch pan will also work. If you want it to be thicker, you can use an 8-inch pan. I’ve found that the 9-inch pan is perfect for my needs. VIEW PRODUCT
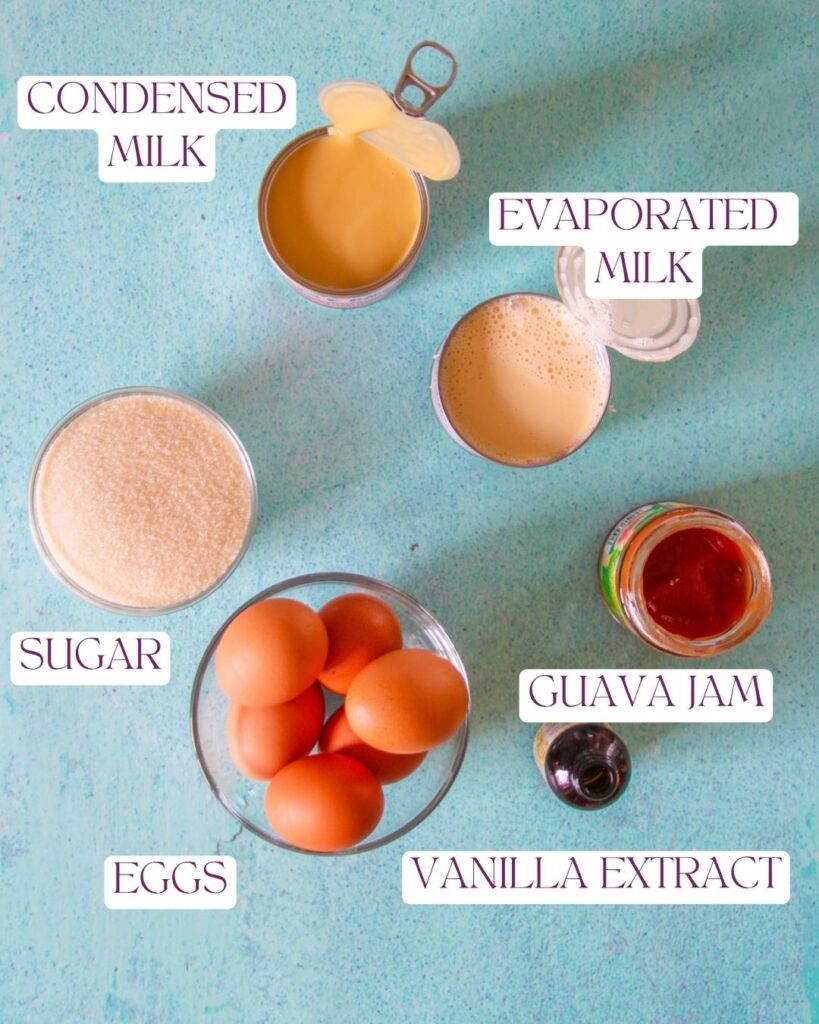
INGREDIENTS FOR FLAN DE GUAYABA
The ingredients you’ll need to make this recipe are simple: sugar, evaporated and condensed milk, guava jam (homemade or store-bought), vanilla extract, and of course, eggs.
HOW TO MAKE FLAN DE GUAYABA
I’m not a huge baker, but I have definitely perfected making flan. That’s why I love experimenting with new flavors like this one!
Prepare caramel
- Heat oven to 350 degrees Fahrenheit.
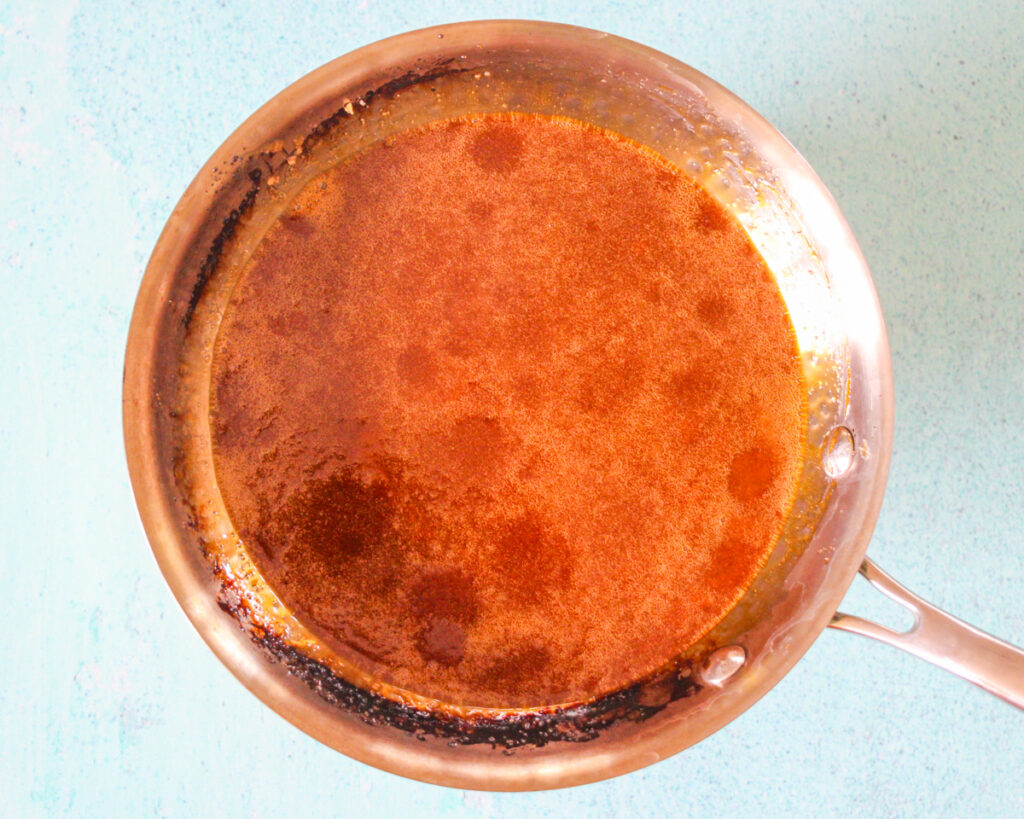
- Prepare caramel by dissolving sugar in a small saucepan over low-medium heat. Once sugar begins to liquify, stir it frequently with a wooden spatula until it is dissolved and completely smooth. Be sure to break up any lumps with a spatula.
PRO TIPS
- Once you start your caramel, do not walk away from the stove until it is ready. It can burn in seconds! You will notice that the sugar will start to transform into an amber color sauce. If it burns, you’ll have to start the process all over again.
- If your sugar is cooking too quickly, reduce stove to low heat and gradually increase to create the caramel.
- Once your caramel topping is a deep golden brown, smooth, and no longer has lumps of sugar, you can proceed to the next step.
Pour caramel into flan pan
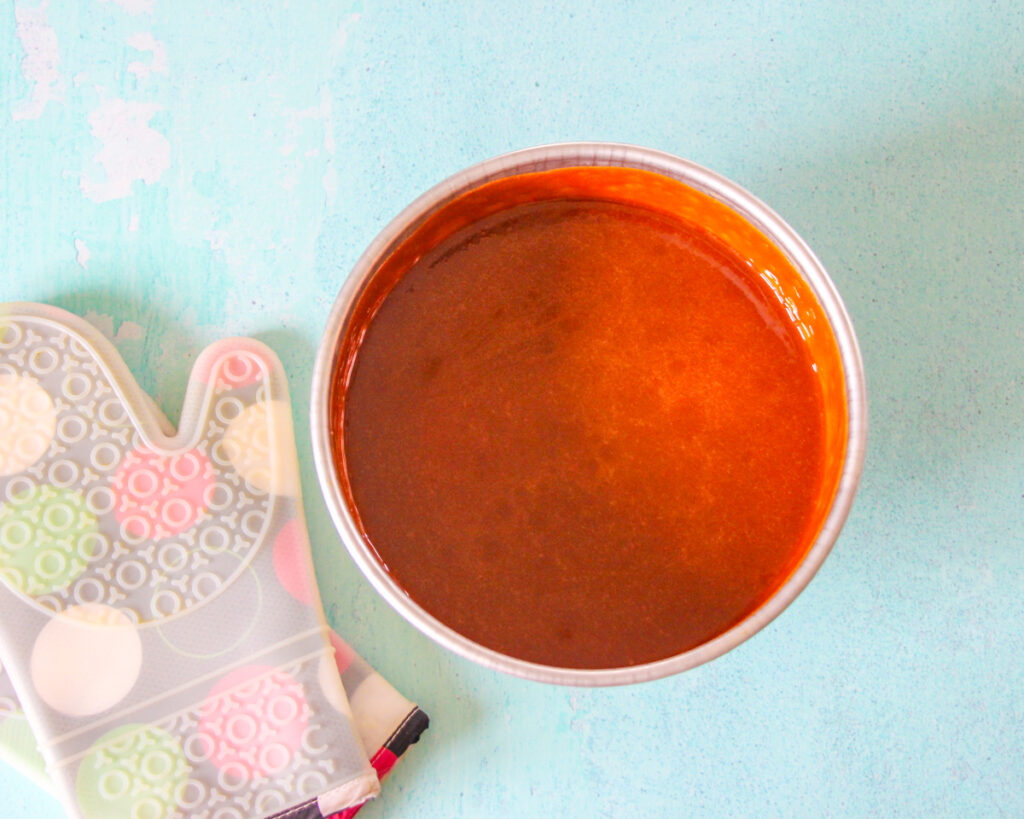
- Working quickly and carefully, pour caramelized sugar mixture into pan or ramekins and swirl to coat the bottom and sides.
- The aluminum pan gets very hot, so I recommend use baking gloves for this step.
- Do not touch or attempt to taste caramel – it is extremely hot!
Blend ingredients
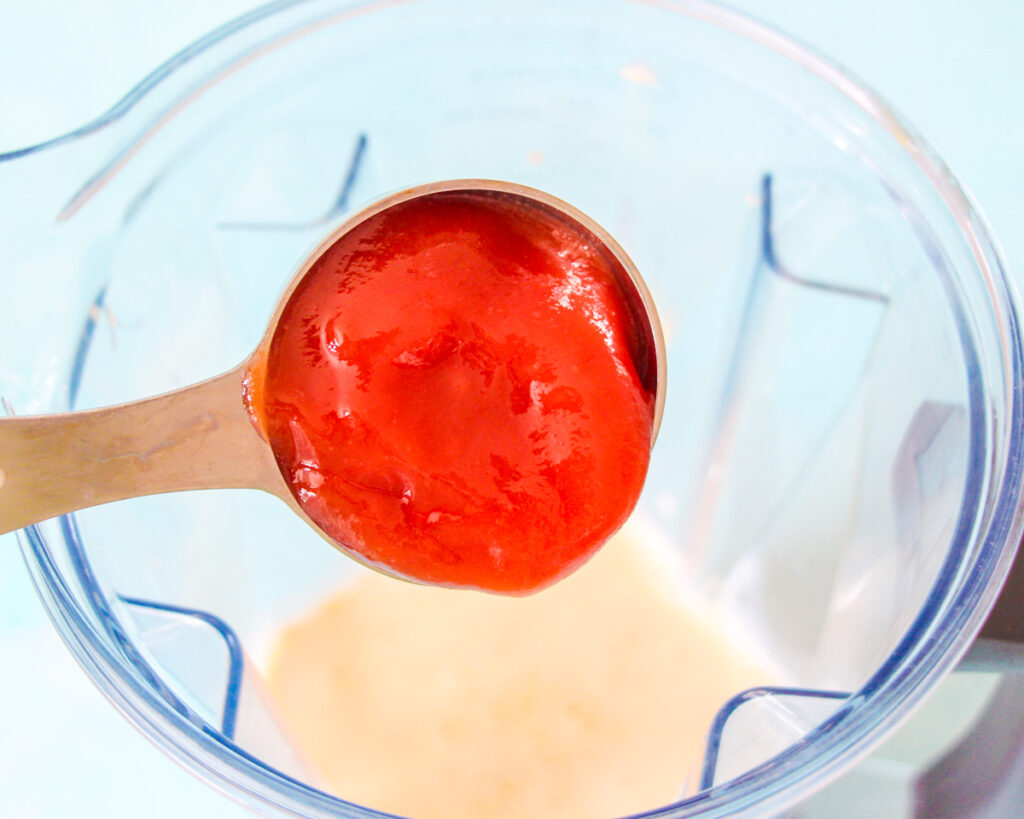
- Combine evaporated milk, condensed milk, guava jam, and vanilla extract in a blender and process until smooth, about 30 seconds.
- Add whole eggs to the blender and process for another 10 seconds.
Pour mixture into flan pan
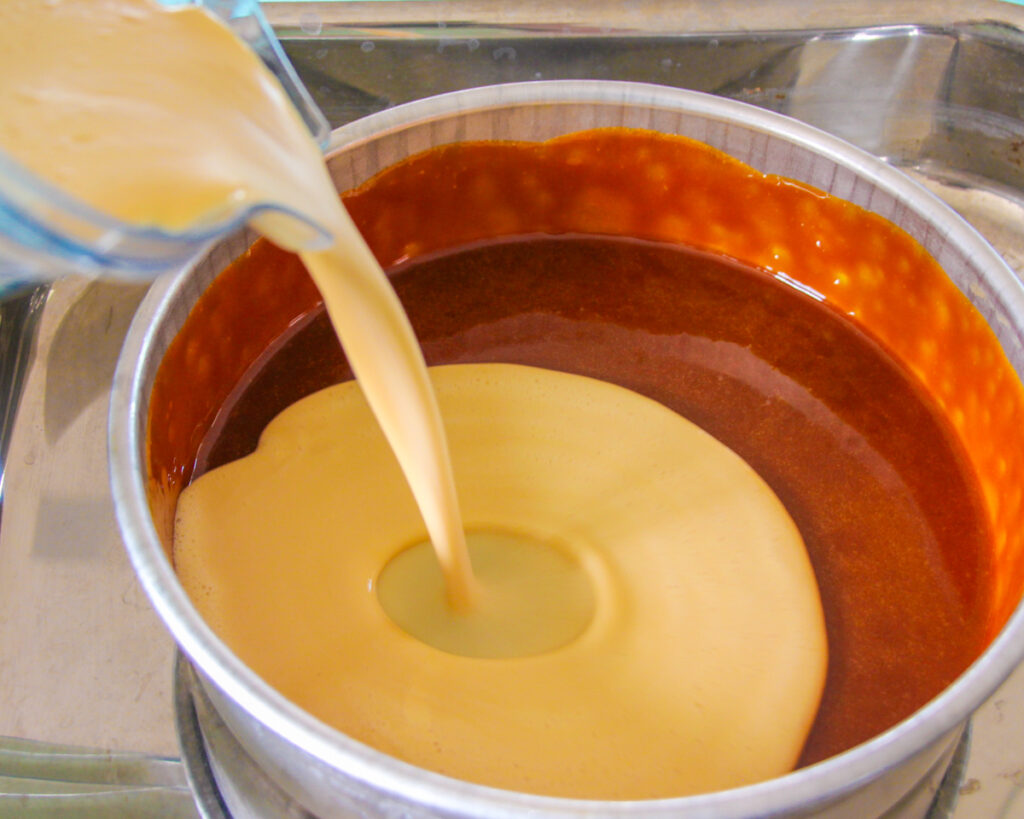
- Pour the flan mixture into flan pan. Break any large bubbles if necessary. I like to use a mesh strainer when pouring the flan into the pan for this step.
Prepare baño María and bake flan
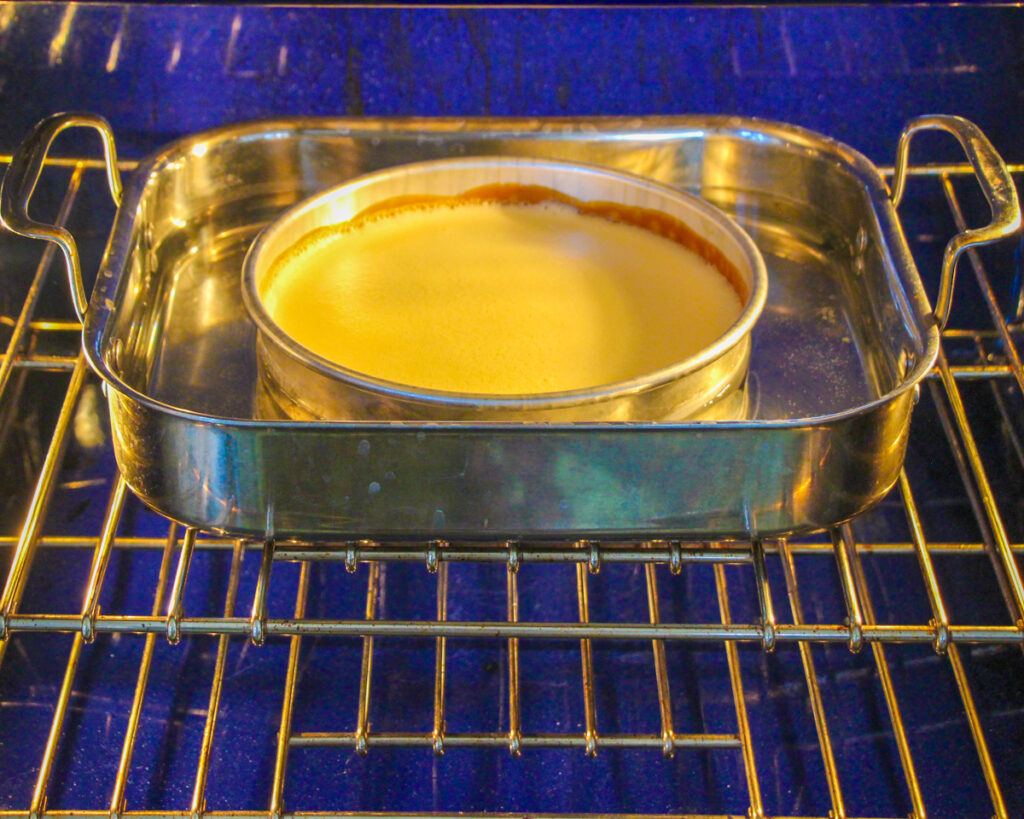
- Prepare baño María (water bath) by arranging flan pan into a larger baking dish. Carefully pour enough boiling hot water into the larger baking dish to come half way up the sides of the flan pan. Be careful not to add too much water or splash any into the flan.
- Place flan on a wire rack in the oven and bake for approximately 60 minutes.
- If after 60 minutes the center of your flan is still very jiggly, it needs more time.
- Turn off oven and allow flan to cool completely in the oven before refrigerating. I leave the door slightly open.
- Refrigerate until ready to serve. Flan must be completely chilled before attempting to remove it from the mold. Be sure to refrigerate it for at least 5 hours (overnight works best!)
HOW TO KNOW IF YOUR FLAN IS READY
- Slight jiggle: The center should have a slight jiggle when you gently shake the pan. It will set more as it cools.
- Clean knife test: Insert a toothpick or knife into the center—if it comes out mostly clean or with a soft custard coating, it’s done. If it comes out completely wet with the custard mixture, it needs more time.
- Edges set: The edges should be slightly firmer than the center.
PRO TIPS
- Total cook time will vary depending on the oven and can take anywhere between 60 minutes and 2 hours.
- I have cooked my flan in both conventional and convection ovens and they’re always ready in 60 minutes, but I allow them to cool completely in the oven with the door slightly open.
Demold and invert flan
- To de-mold flan, carefully run a sharp knife around the edges without cutting into the flan.
- Place a large plate over pan.
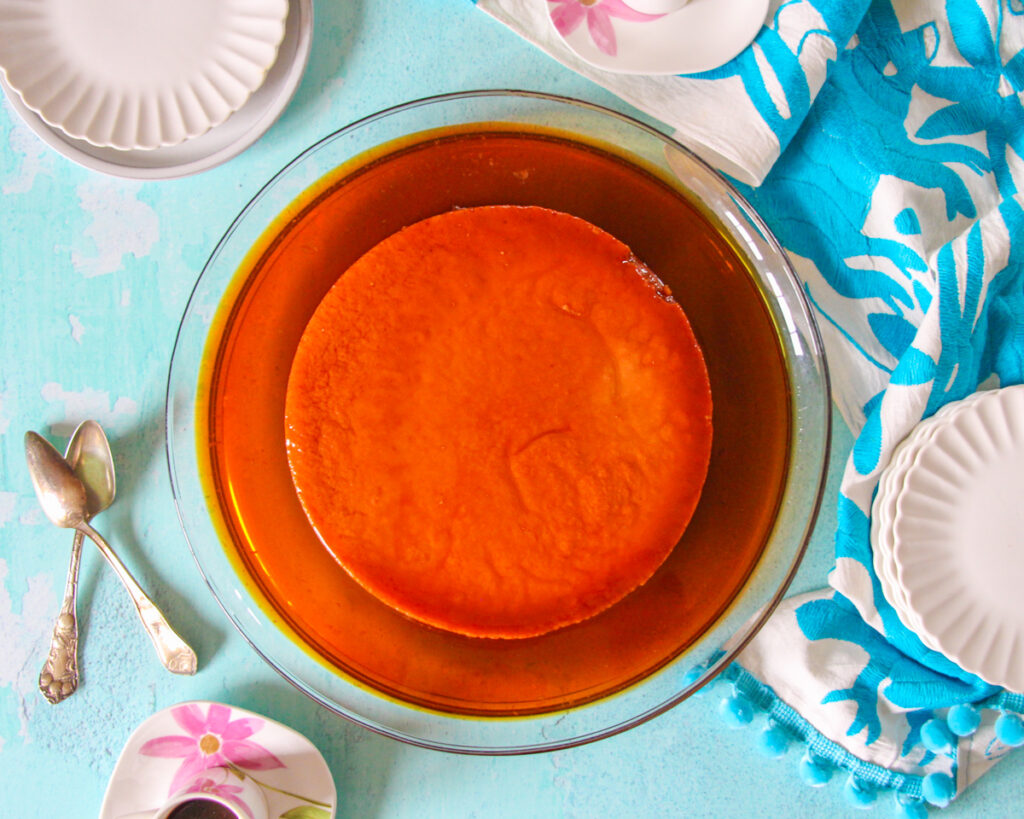
- Moving carefully and quickly, invert flan onto the plate. Flan should come out easily with caramel sauce.
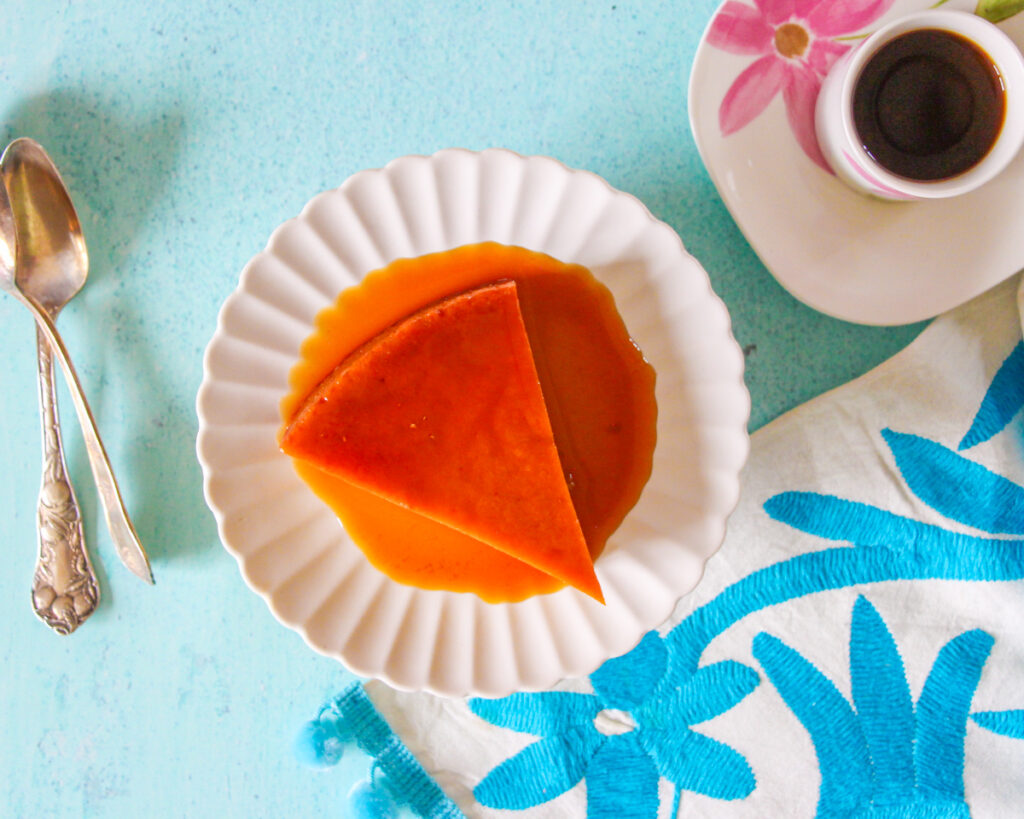
- Serve and enjoy!
HOW TO STORE LEFTOVER FLAN
I store my leftover flan in a glass container with a lid for 3 to 4 days for optimal flavor.
LOOKING FOR MORE SWEET INSPIRATION?
Be sure to check out more of my paletas, sweets and desserts! Here are a few of my faves:
- How to Make Buñuelos Mexicanos with Flour Tortillas
- How to Make Calabazas Dulces (Mexican Candied Pumpkin)
- How to Make Sugar Skull Cookies with Edible Marigolds
- How to Make Helado de Chocolate (Chocolate Ice Cream)
- Easy Caramelized Oranges in Mexican Vanilla Syrup
- How to Make Camote Enmielado (Mexican Candied Sweet Potatoes)
- How to Make Pan de Manzana (Homemade Apple Bread)
- How to Make Flan de Café (BEST Coffee Flan Recipe)
- Flan Casero (Classic Flan Topped with Fresh Berries)
- Kumquat Jam with Vanilla (4 Ingredients, No Pectin)
- How to Make 30-Minute Guava Jam (Mermelada de Guayaba)
- 10-Minute Spiced Piloncillo Syrup
- Lavender Cookies with Vanilla
- Chocolate Flan (Flan de Chocolate)
- Fresas con Crema de Vainilla (Strawberries and Mexican Vanilla Bean Sweet Cream)
- No-Bake Dark Chocolate S’mores Clusters
- Lola’s Holiday Flan de Rompope (Eggnog and Rum Flan)
- How to Make Fresas con Crema (Mexican Strawberries and Cream)
Flan de Guayaba (Best Guava Flan Recipe)
Equipment
- 8-inch heavy-duty aluminum cake pan (larger cake pans also work)
- Large serving plate
Ingredients
- 1 cups pure cane sugar
- 2 tablespoons guava jam (up to 4 tablespoons for more intense guava flavor)
- 12 ounces evaporated milk
- 14 ounce condensed milk
- 1 tablespoon vanilla extract
- 6 large eggs (at room temperature)
Instructions
- Prepare caramel. Heat oven to 350 degrees Fahrenheit. Prepare caramel by dissolving sugar in a small saucepan over low-medium heat. Once sugar begins to liquify, stir it frequently with a wooden spatula until it is dissolved and completely smooth. Be sure to break up any lumps with a spatula.PRO TIPSOnce you start your caramel, do not walk away from the stove until it is ready. It can burn in seconds! If it burns, you’ll have to start the process all over again.You will notice that the sugar will start to transform into an amber color sauce. If your sugar is cooking too quickly, reduce stove to low heat and gradually increase to create the caramel.Once your caramel topping is a deep golden brown, smooth, and no longer has lumps of sugar, you can proceed to the next step.
- Pour caramel into flan pan. Working quickly and carefully, pour caramelized sugar mixture into pan (or ramekins) and swirl to coat the bottom and sides. The aluminum pan gets very hot, so I recommend use baking gloves for this step. Do not touch or attempt to taste caramel – it is extremely hot!
- Blend ingredients. Combine evaporated milk, condensed milk, guava jam, and vanilla extract in a blender and process until smooth, about 30 seconds. Add eggs to the blender and process for another 10 seconds.
- Pour mixture into flan pan. Pour the flan mixture into flan pan. Break any large bubbles if necessary. I like to use a mesh strainer when pouring the flan into the pan for this step. Cover with foil if desired. This prevents the flan from browning too much on top. Sometimes I skip this step because it gets flipped upside-down anyway and as long as it doesn’t burn, this doesn’t really affect the flavor.
- Prepare baño María (water bath) by arranging flan pan into a larger baking pan or pot (I like to use a large cast-iron pot). Pour enough hot water into the larger baking pan to come halfway up the sides of flan pan. Be careful not to splash any water into the flan.
- Bake flan. Place flan on a wire rack in the oven and bake for approximately 60 minutes. If after 60 minutes the center of your flan is still very jiggly, it needs more time. Turn off oven and allow flan to cool completely in the oven before refrigerating. I leave the door slightly open. Refrigerate until ready to serve. Flan must be completely chilled before attempting to remove it from the mold. Be sure to refrigerate it for at least 5 hours (overnight works best!)HOW TO KNOW IF YOUR FLAN IS READYSlight jiggle: The center should have a slight jiggle when you gently shake the pan. It will set more as it cools.Clean knife test: Insert a toothpick or knife into the center—if it comes out mostly clean or with a soft custard coating, it’s done. If it comes out completely wet with the custard mixture, it needs more time.Edges set: The edges should be slightly firmer than the center.PRO TIPTotal cook time will vary depending on the oven and can take anywhere between 60 minutes and 2 hours. I have cooked my flan in both conventional and a convection ovens and they’re always ready in 60 minutes, but I allow them to cool completely in the oven with the door slightly open.
- De-mold and invert flan. To de-mold flan, carefully run a sharp knife around the edges without cutting into the flan. Place a large plate over pan. Moving carefully and quickly, invert flan onto the plate. Flan should come out easily with caramel sauce.
- Serve and enjoy. Top flan with edible flowers or fresh berries for that extra wow factor, if desired.
A Note from Lola
TIPS AND TRICKS
- If using small ramekins, you can place them in a larger baking dish and create your water bath the same way you would do with a larger flan mold only you would cover the entire baking dish with foil instead of the individual ramekins. Check flan after 25 minutes; smaller sizes require less baking time.
- When you make the caramel for your flan, it is extremely hot. Do not ever attempt to taste it. You will burn yourself!
- The bain-marie (water bath) in flan-making ensures gentle, even cooking by regulating temperature. It prevents the outer layer from overcooking or curdling, resulting in a smooth and creamy custard texture.
- Flan must be completely chilled before attempting to remove it from the mold. Be sure to refrigerate it for at least 5 hours (overnight works best!)
- I only use wooden cooking utensils when working with caramel for flan.
- Never, ever attempt to touch or taste hot caramel sauce. It is extremely hot and will burn you.
Nutrition
Lola’s Cocina is a small business that earns various revenue streams. This includes sponsored posts and affiliate commissions from linked products, which I use and love. This commission is an agreement between Lola’s Cocina and retailers, with no extra cost to readers. This income helps sustains the site.
Lola Wiarco Dweck
Lola is a Mexican-American recipe developer, writer, and cooking instructor who loves sharing her culture with the world. Growing up in California and spending summers in Mexico, Lola celebrates her family’s Mexican recipes and vibrant culture through Lola’s Cocina.